
The Vinyl Care Bible : How to Take Care of Your Records
Stop. Right there.
If you’re holding your vinyl like a greasy slice of New York pizza — you’re doing it wrong.
And yes, you’re slowly murdering your records.
Welcome to The Apartment Audiophile — where we test, tweak, and talk everything hi-fi, from speakers to spins, in spaces barely big enough to fit a decent subwoofer.
Today, we’re making the ultimate guide on how to take care of your vinyl so your kids don’t inherit warped plastic and call it “retro art.”
1. How to Handle Your Records Without Ruining Them
First rule of Vinyl Club: you do not touch the shiny part.
Always handle your record by the edges and the label. Your fingers leave oil and grime that cause pops, clicks, and tiny scratches — the silent killers of sound quality.
How to take it out of the sleeve:
Tilt the sleeve slightly and let gravity do the work. Slide the record into your hand by touching only the label and edge. No claw-machine moves, no sausage-finger rescues.
How to place it on the turntable:
Hold the record by the edges and lower it gently onto the platter. This is not the NBA Jam slam dunk contest.
How to put it back:
Same deal, just in reverse. Handle the edges, keep your fingers off the grooves, and slide it back into the sleeve like a civilized audiophile.
👉 Pro Tip: Show your clumsy roommate how to do this. It might save a friendship (and a few albums).
2. Why Inner Sleeves Matter
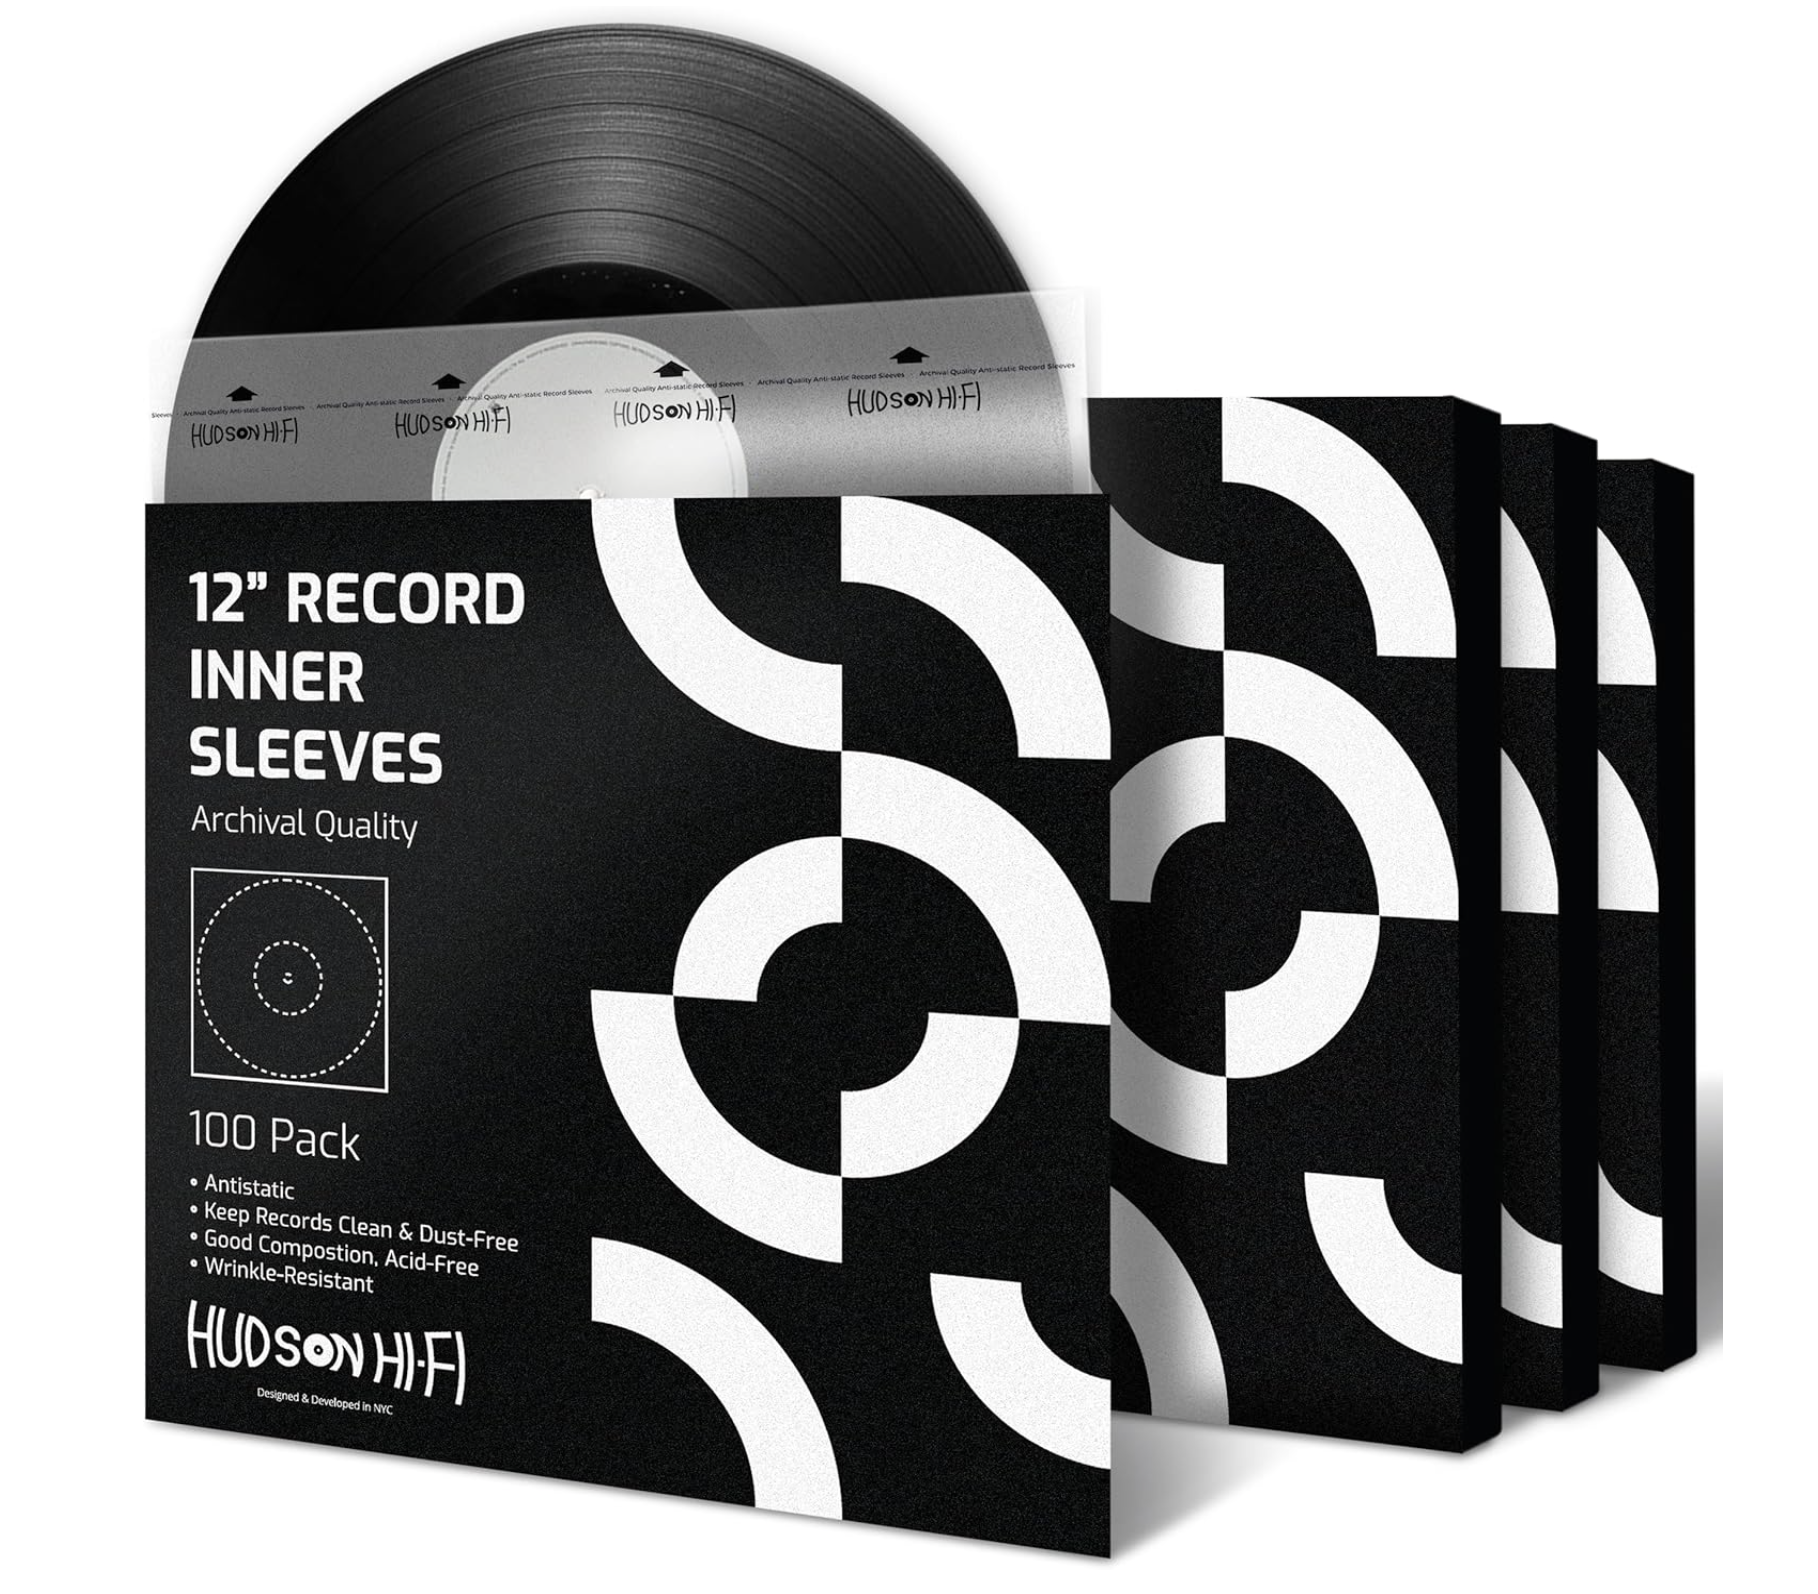
Those flimsy paper sleeves that come with most records? Yeah — they’re basically sandpaper with a degree in surface damage.
They shed lint, hold static, and scratch your vinyl every time you pull a record out.
Time to upgrade to anti-static rice paper sleeves. They’re smoother, dust-repellent, and will make your records last longer than your last relationship.
I use ones like Hudson Hi-Fi anti-static sleeves — affordable, durable, and they genuinely make a difference.
If you want to go full “MERICA” mode, grab a Milty Zerostat anti-static gun to zap the static away. (Bonus: you’ll feel like James Bond with a hi-fi fetish.)
3. Cleaning Your Vinyl (The Right Way)
Unless you live inside a biotech cleanroom, your vinyls will get dirty. Dust happens. Here’s how to deal with it without destroying your records:
Carbon Fiber Brush (Every Play)
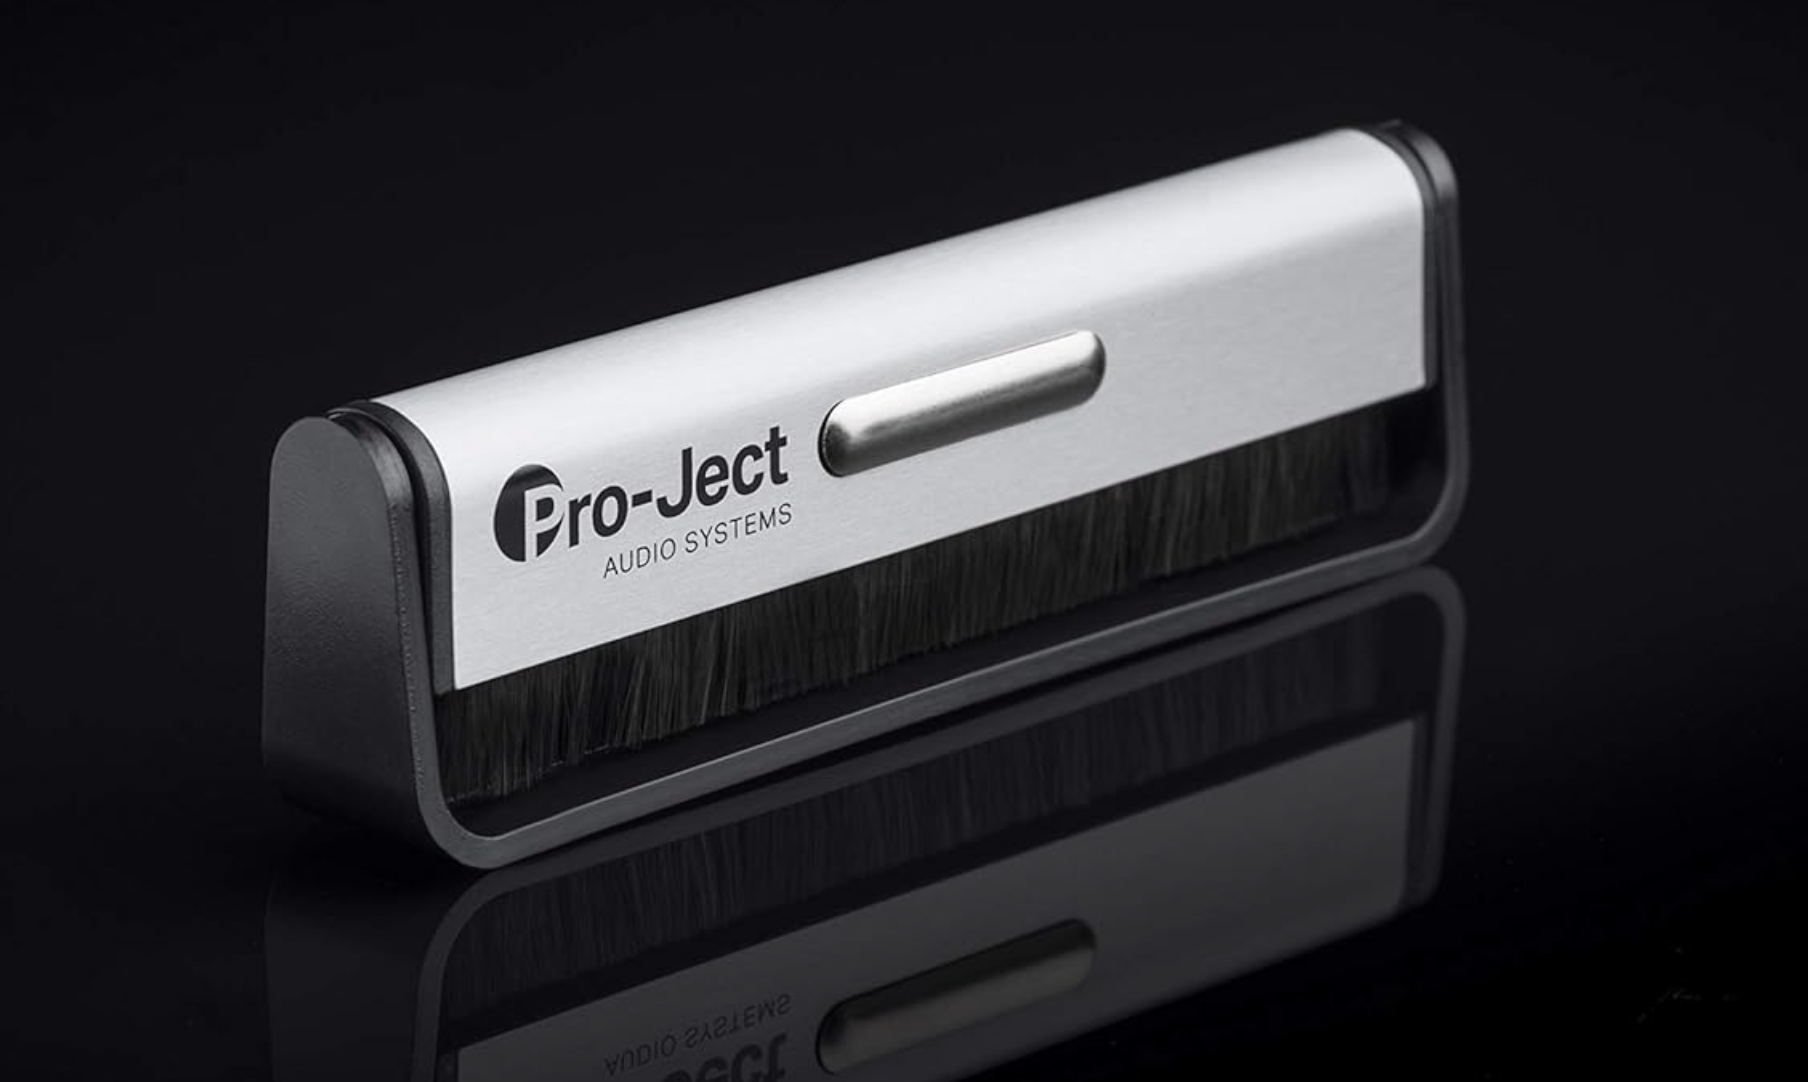
Use one before every spin.
Hold it perpendicular to the grooves for 3–4 rotations. Let only the brush’s own weight touch the record — no pressure. Then gently drag it off at a 45° angle.
Never push it toward the spindle or pull it straight toward you — you’re just dragging the dust around like a toddler with spaghetti.
Cleaning Solution (For Stubborn Gunk)
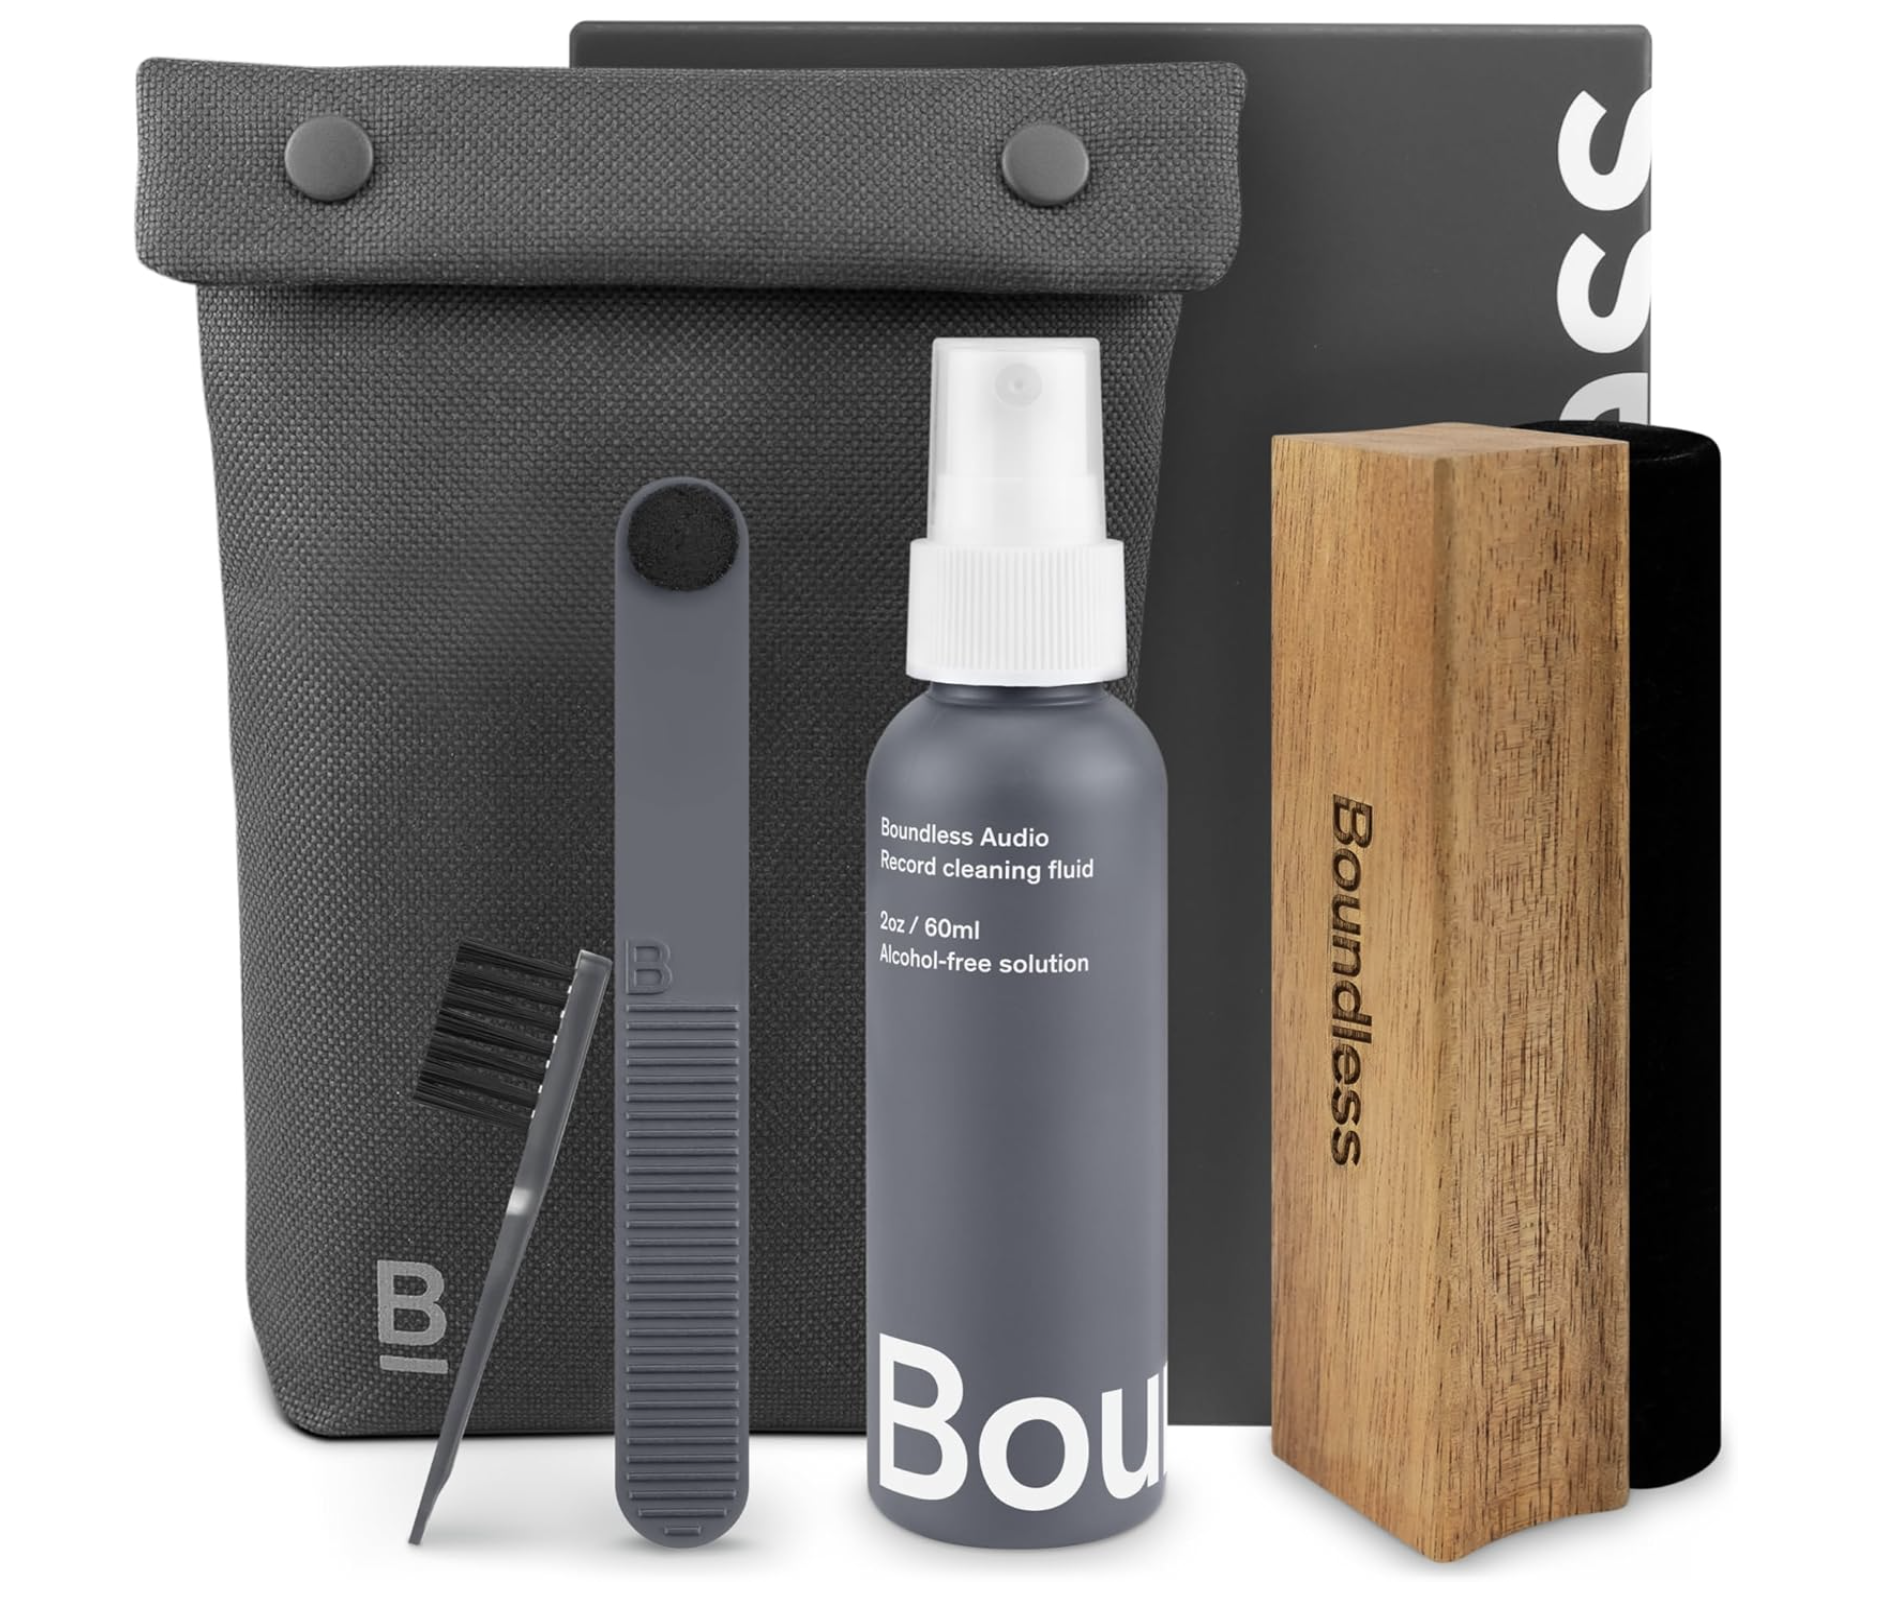
Use a soft cleaning brush and a light spray of vinyl cleaning fluid.
Rotate gently, then dry with the clean side of the brush.
Record Cleaning Machines (Audiophile Spa Treatment)
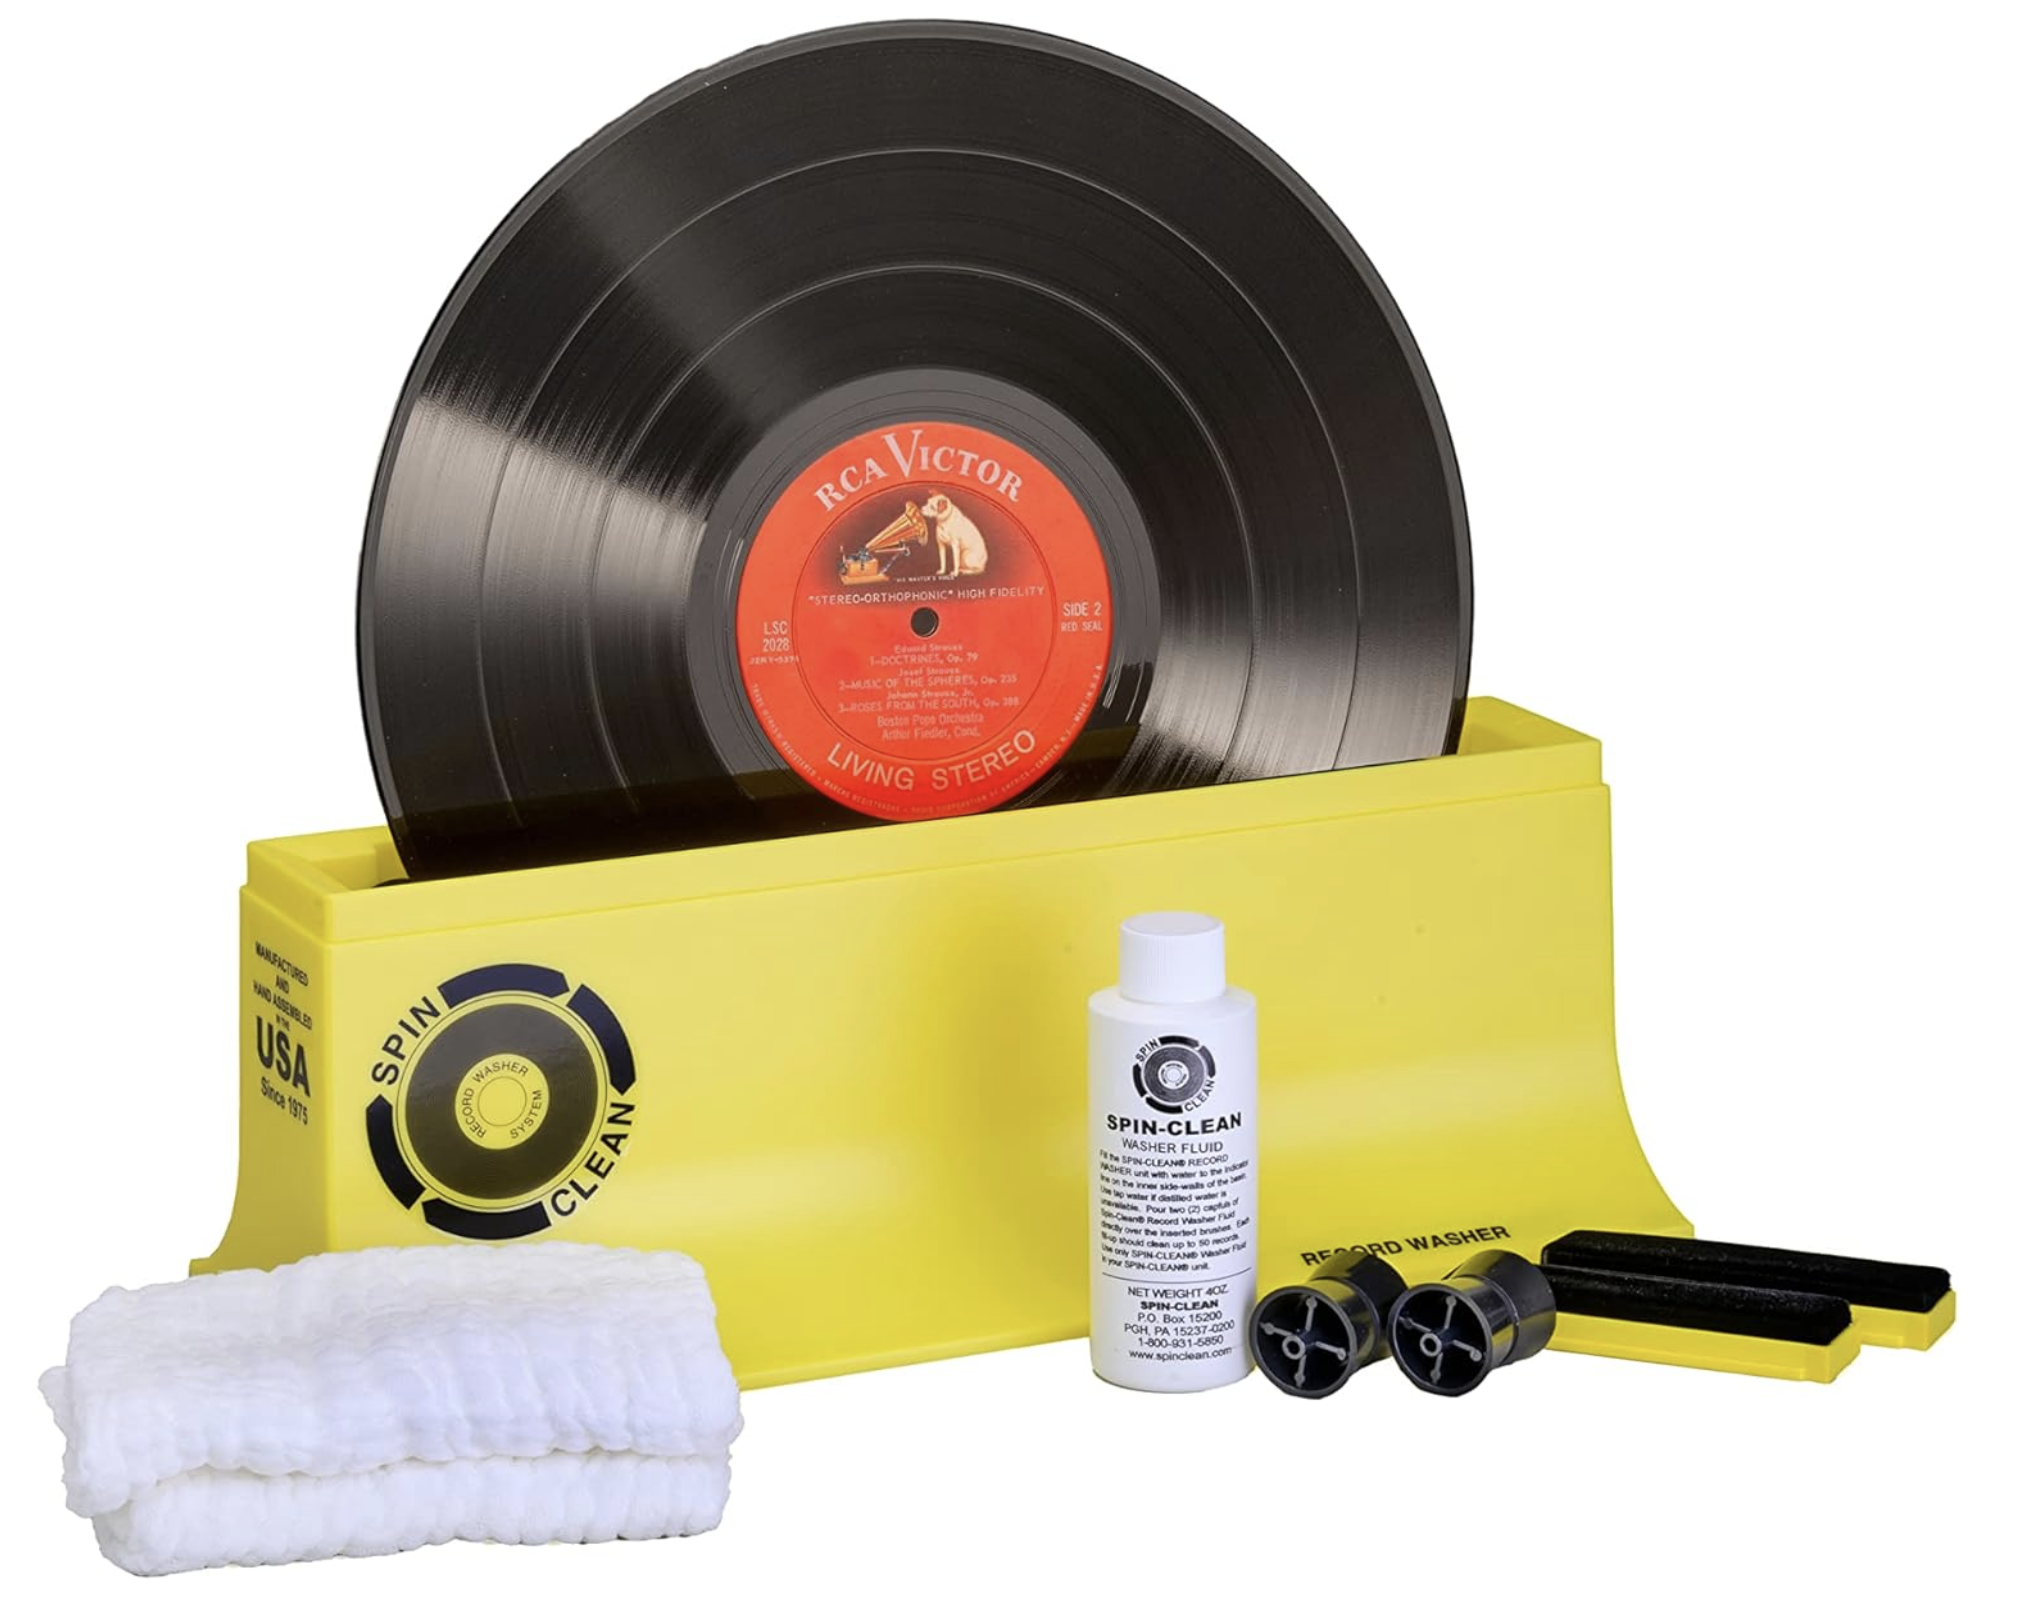
If you want to go all-in, ultrasonic record cleaners are the top tier — but pricey.
On a budget? The Spin Clean Record Washer is a solid option. It won’t perform miracles, but it’ll definitely help your used vinyls sparkle again.
Just… don’t use dish soap and a sponge. This isn’t kitchen duty.
4. Record Clamp vs. Record Weight
A record clamp looks like a hockey puck — and yes, it’s actually useful.
It flattens the record against the platter, reducing vibrations and helping your stylus track better. Translation: fewer skips, tighter bass, better sound.
Now, someone’s already typing, “But what about record weights?”
Here’s the difference:
Record weights use brute force. They’re heavy metal discs that press down on the record — and put unnecessary strain on your motor or bearings, especially on belt-drive turntables.
Record clamps actually lock the vinyl onto the spindle, flattening it evenly and gently.
So unless you enjoy slowly murdering your turntable, go for the clamp.
5. Clean Your Stylus (Your Needle Deserves Love Too)
If your records sound like Rice Krispies, your stylus might be filthy.
Stylus Brush:
Use it back-to-front, never side-to-side. It’s quick, cheap, and safe.
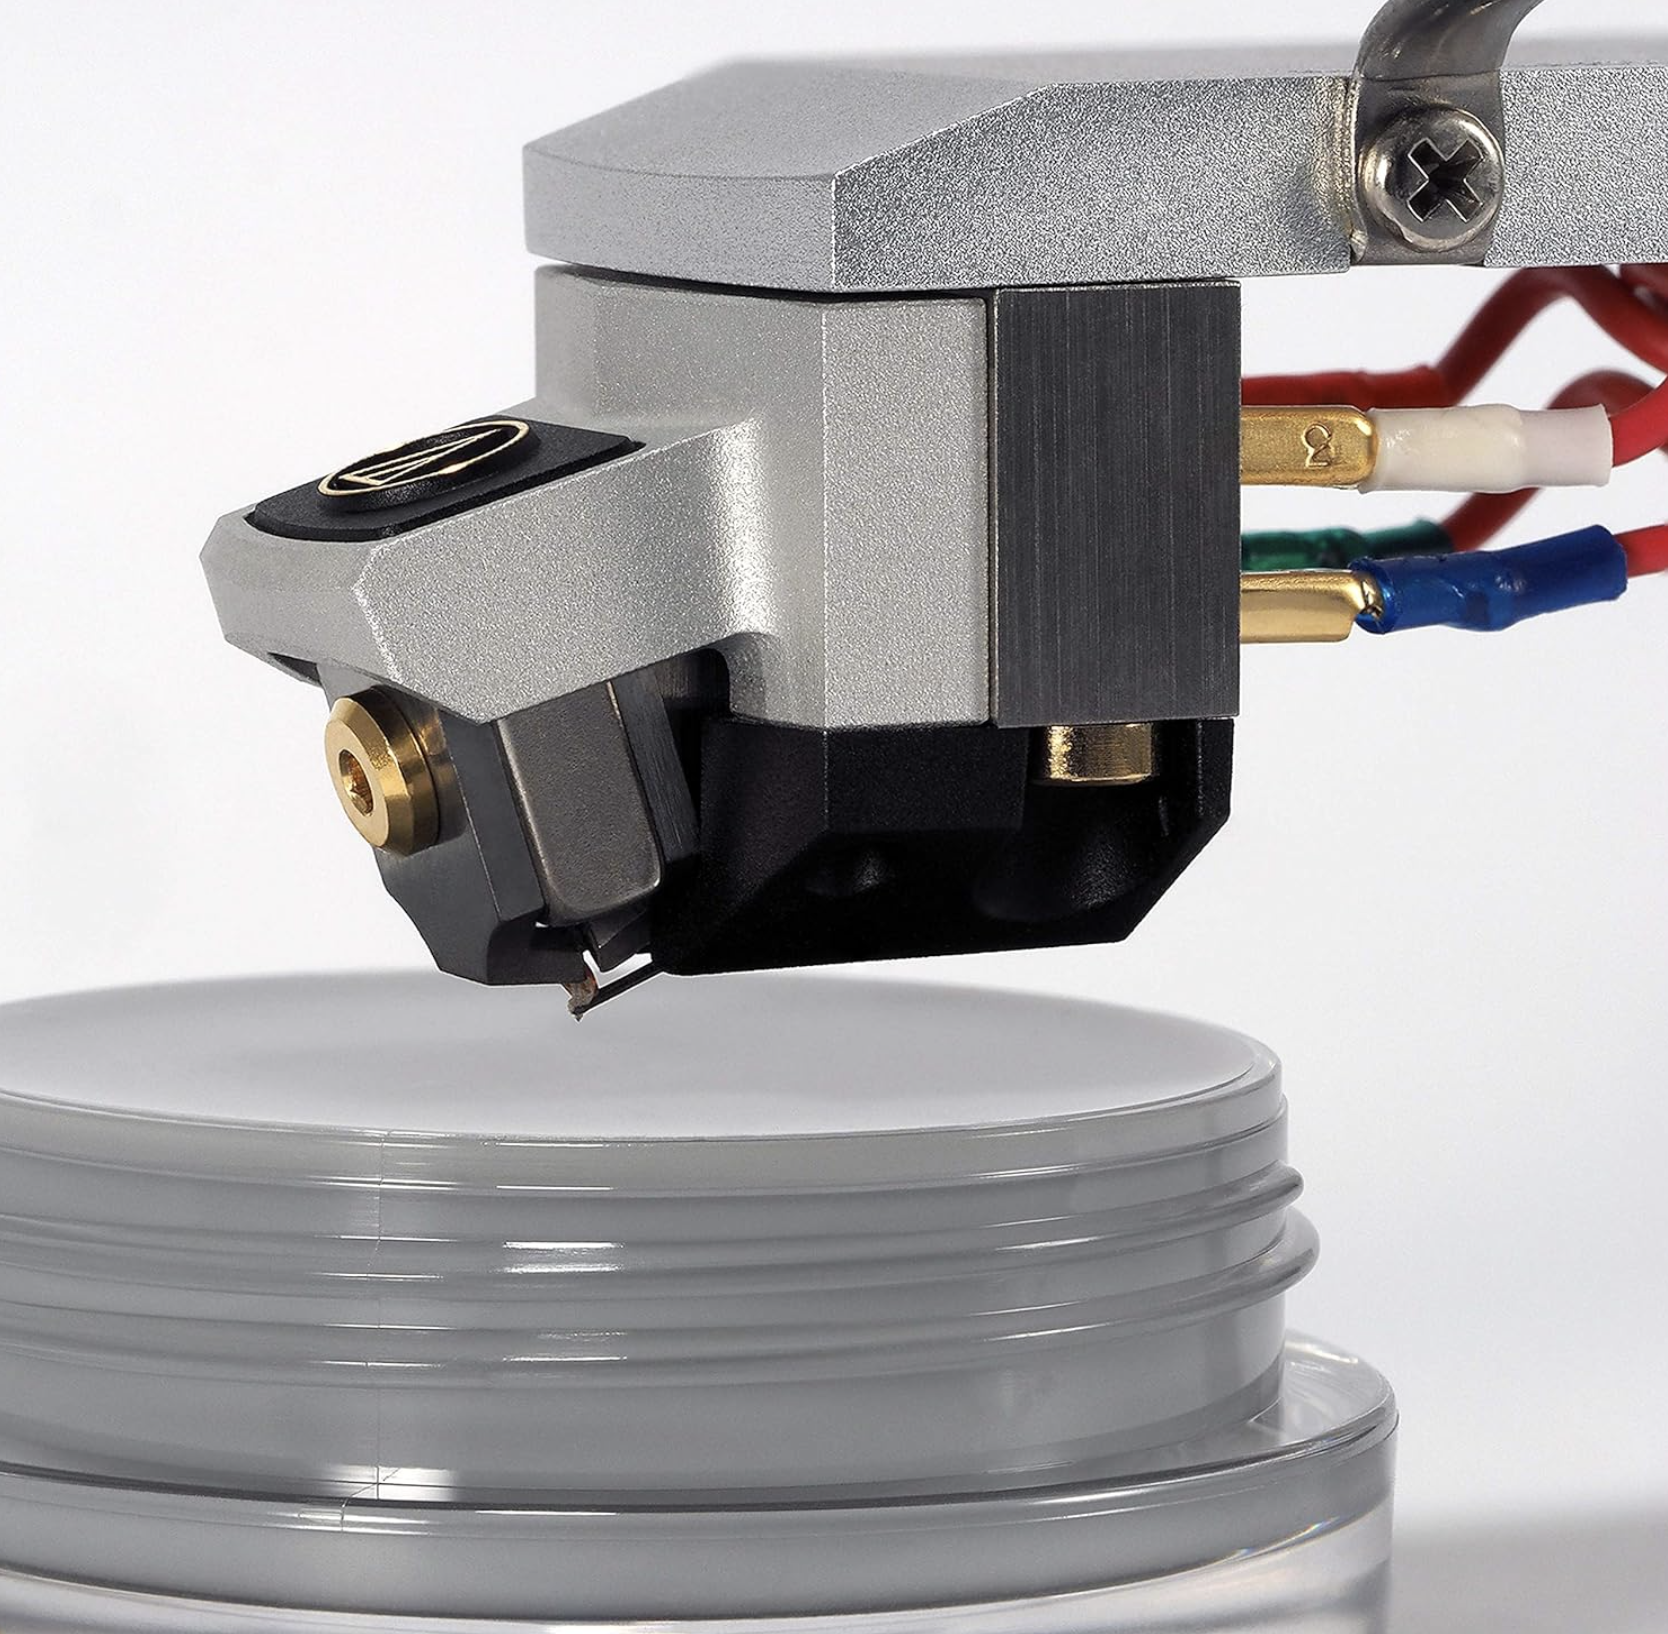
Gel Pad:
Dip the stylus gently two or three times into the gel, lift, and you’re done. I prefer this method — it’s oddly satisfying and lasts for years.
And no, blowing on it doesn’t count. Especially if you just ate a shawarma.
6. How to Store Your Vinyl Properly
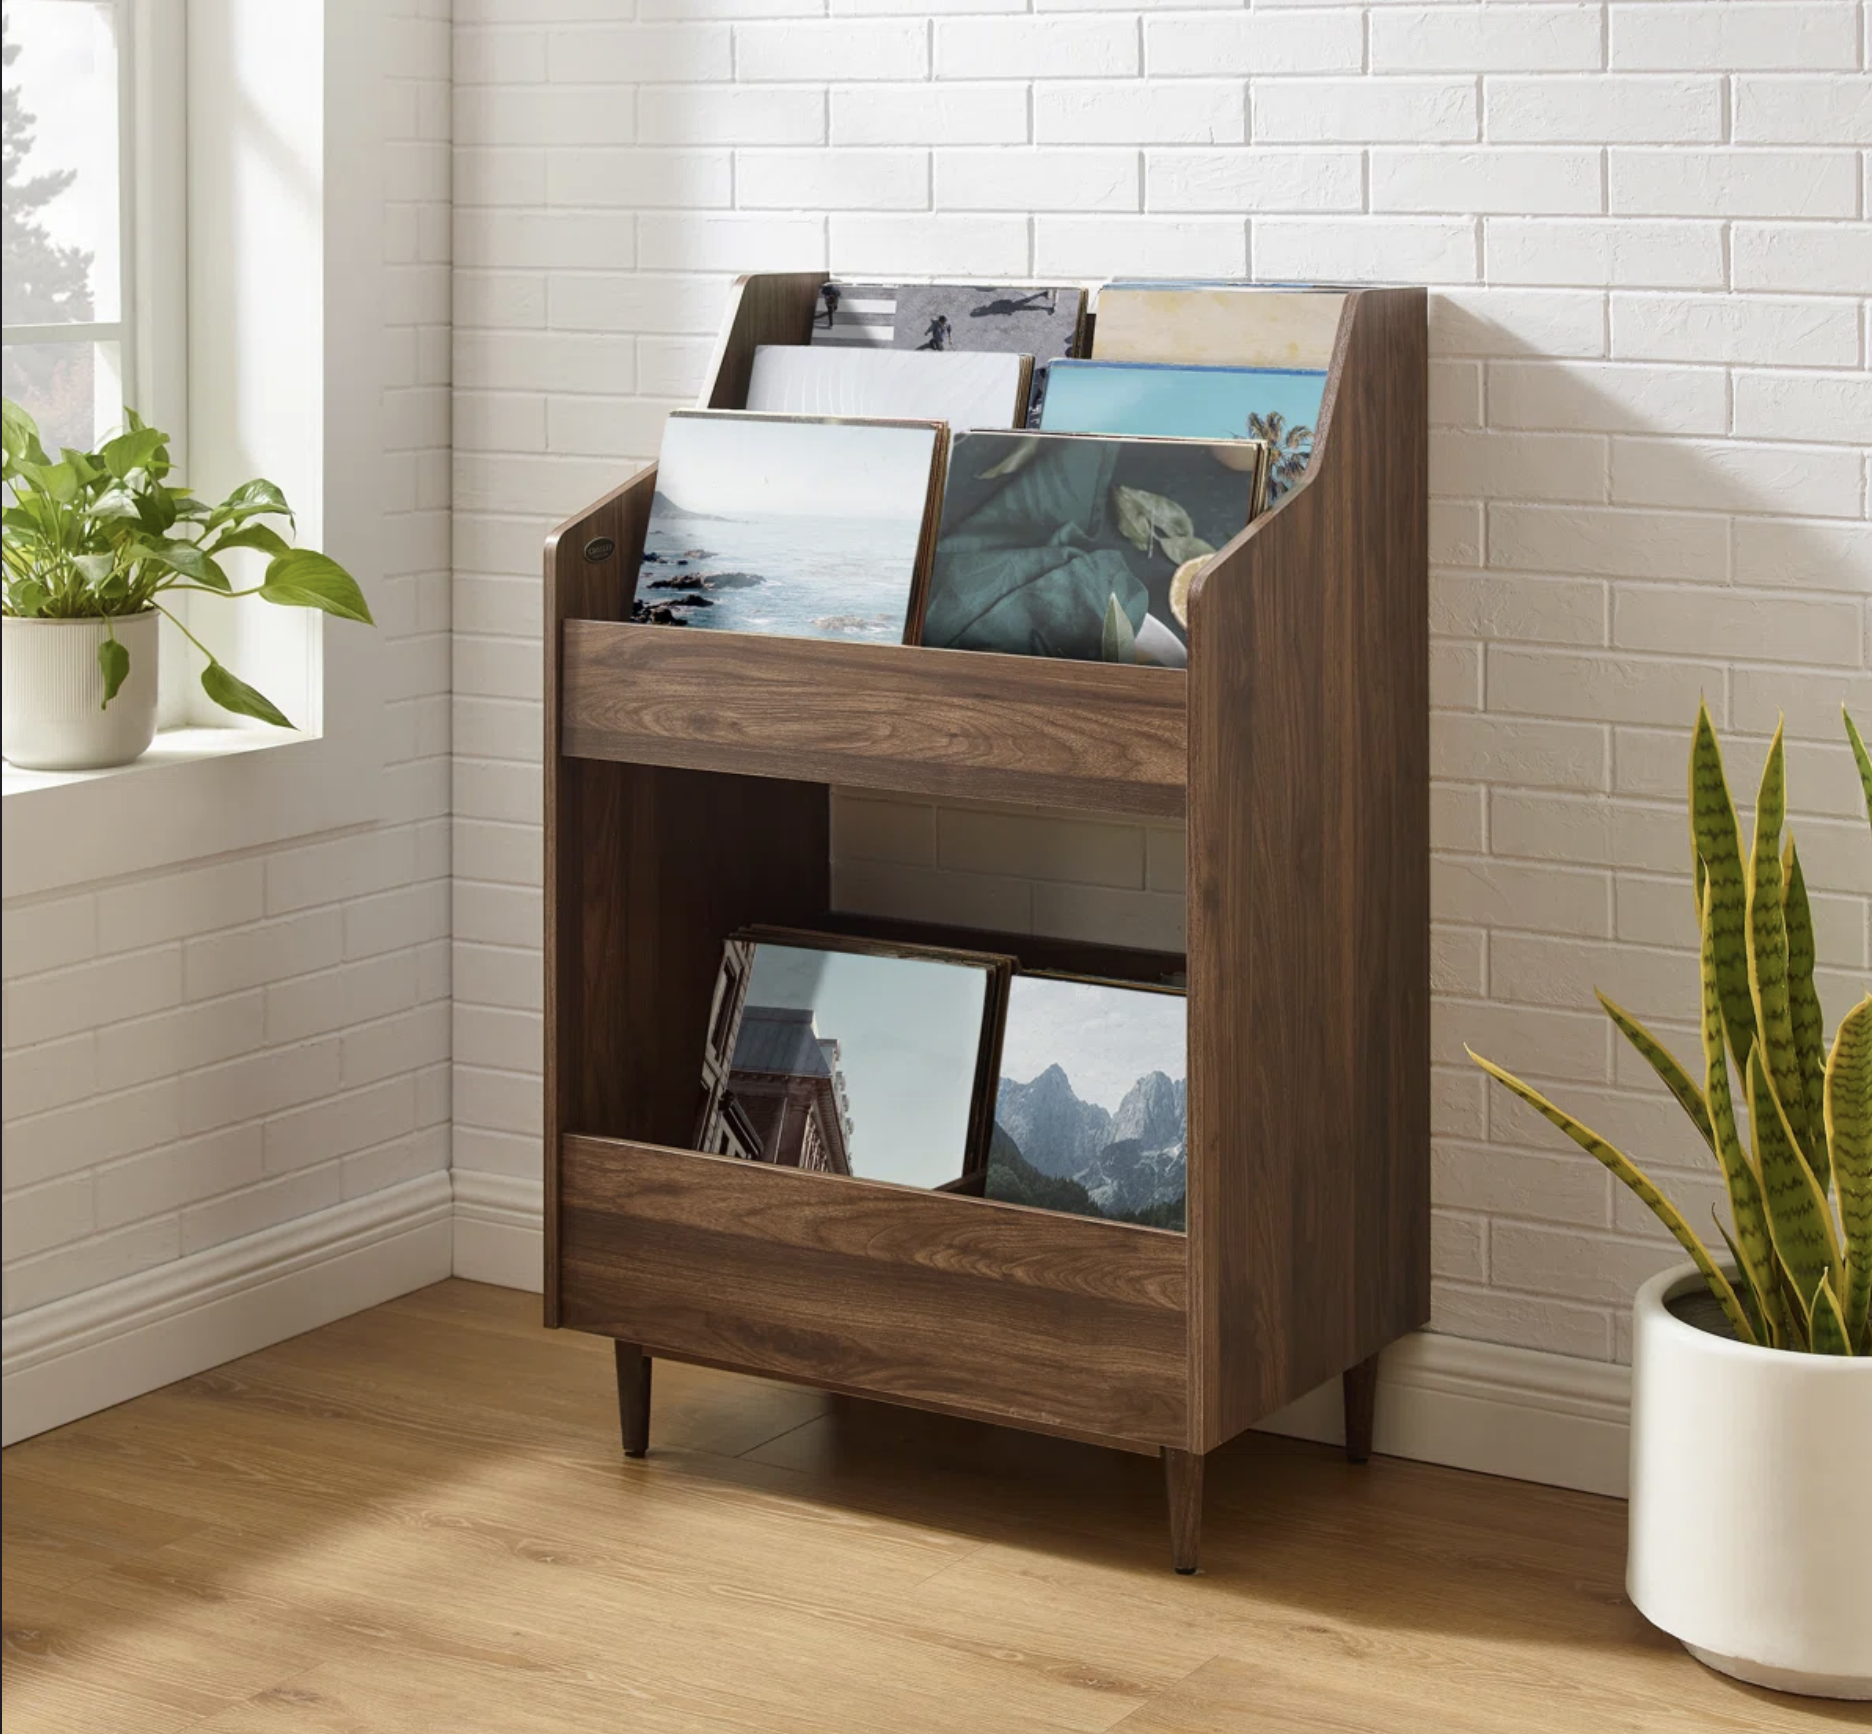
Please, stop stacking your vinyl like pancakes. This is not Denny’s.
Store them vertically, like books. Heat and pressure warp records faster than TikTok trends.
Keep them away from direct sunlight — unless you want your favorite album to look like a Salvador Dalí clock.
There are tons of stylish storage options out there, from IKEA cubes to custom crates. Pick one that fits your decor and keeps your collection safe.
7. Bonus Audiophile Habits That Actually Matter
Wash your hands before handling vinyl. Obvious, but often ignored.
Don’t leave records sitting on your turntable for days — dust loves that.
Keep your turntable level. A $10 bubble level can save you hundreds in stylus wear.
Protect your album covers with outer sleeves to prevent ring wear and corner scuffs.
Think of your collection as an investment. You never know which record might skyrocket in value.
For example, I grabbed a 3-LP edition of Heligoland by Massive Attack for around $45 when it came out — it’s worth over $400 now.
Moral of the story: care = value.
Final Thoughts
Follow these steps and your vinyl will sound pristine, look gorgeous, and probably outlive you.
Now go forth — save your records from greasy fingerprints, static, and clumsy hands.
And for the love of music… stop destroying your vinyls.